These instructions use equipment found at various stations in the Knapp Center, located on the first floor of Clapp Library. If you have any questions, ask a consultant at the Knapp or Clapp service desks for assistance.
- Setting Up
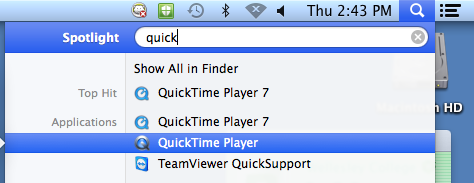
- Digitizing a Video Clip in QuickTime Player
- Trimming a Video Clip in QuickTime Player
- Troubleshooting
Setting Up
| VHS cassettes | Stations 28-32 |
| PAL cassettes | Station 26 |
| DVD | Stations 23-32 |
| Region Free DVD | Stations 23-27 |
| DV Tape | Stations 30, 31 |
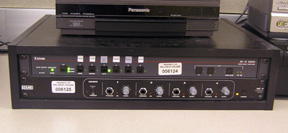
- Make sure the Extron box's power is turned on - see image below. If the green light is off, it may be that the box is unplugged. See the computer consultant on duty for assistance. Ensure the green light next to the button for the equipment you're using (it will be labeled either "DVD", "DVD/VCR", or "VCR", depending on what equipment is at the station) is lit.
- Make sure that the Sony box's power is turned on. The Sony box is located on top of the computer tower. If there are no green lights, press the power button on the top of the box.
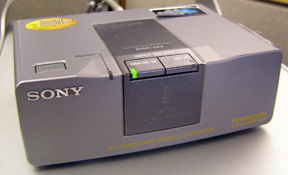
- Set the Sony box. Make sure the green light is showing on the Analog In button. If it isn't, press the button.
- Check to make sure the volume on the computer is turned up before digitizing. Press up and down buttons on the keyboard, and adjust the slide next to the speaker icon on the desktop.
- Turn on the TV.
- Turn on the correct player and insert the tape or disc.
- Use the player controls to navigate to the part of the video that you want to digitize. Pause the video a few seconds before you would like your digitized clip to begin.
If you have questions about using one of the players, please see a consultant for help.
If the movie is not being displayed on the TV or in QuickTime, follow the troubleshooting directions at the end of the documentation.
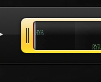
 Select the small arrow on the right side of the panel.